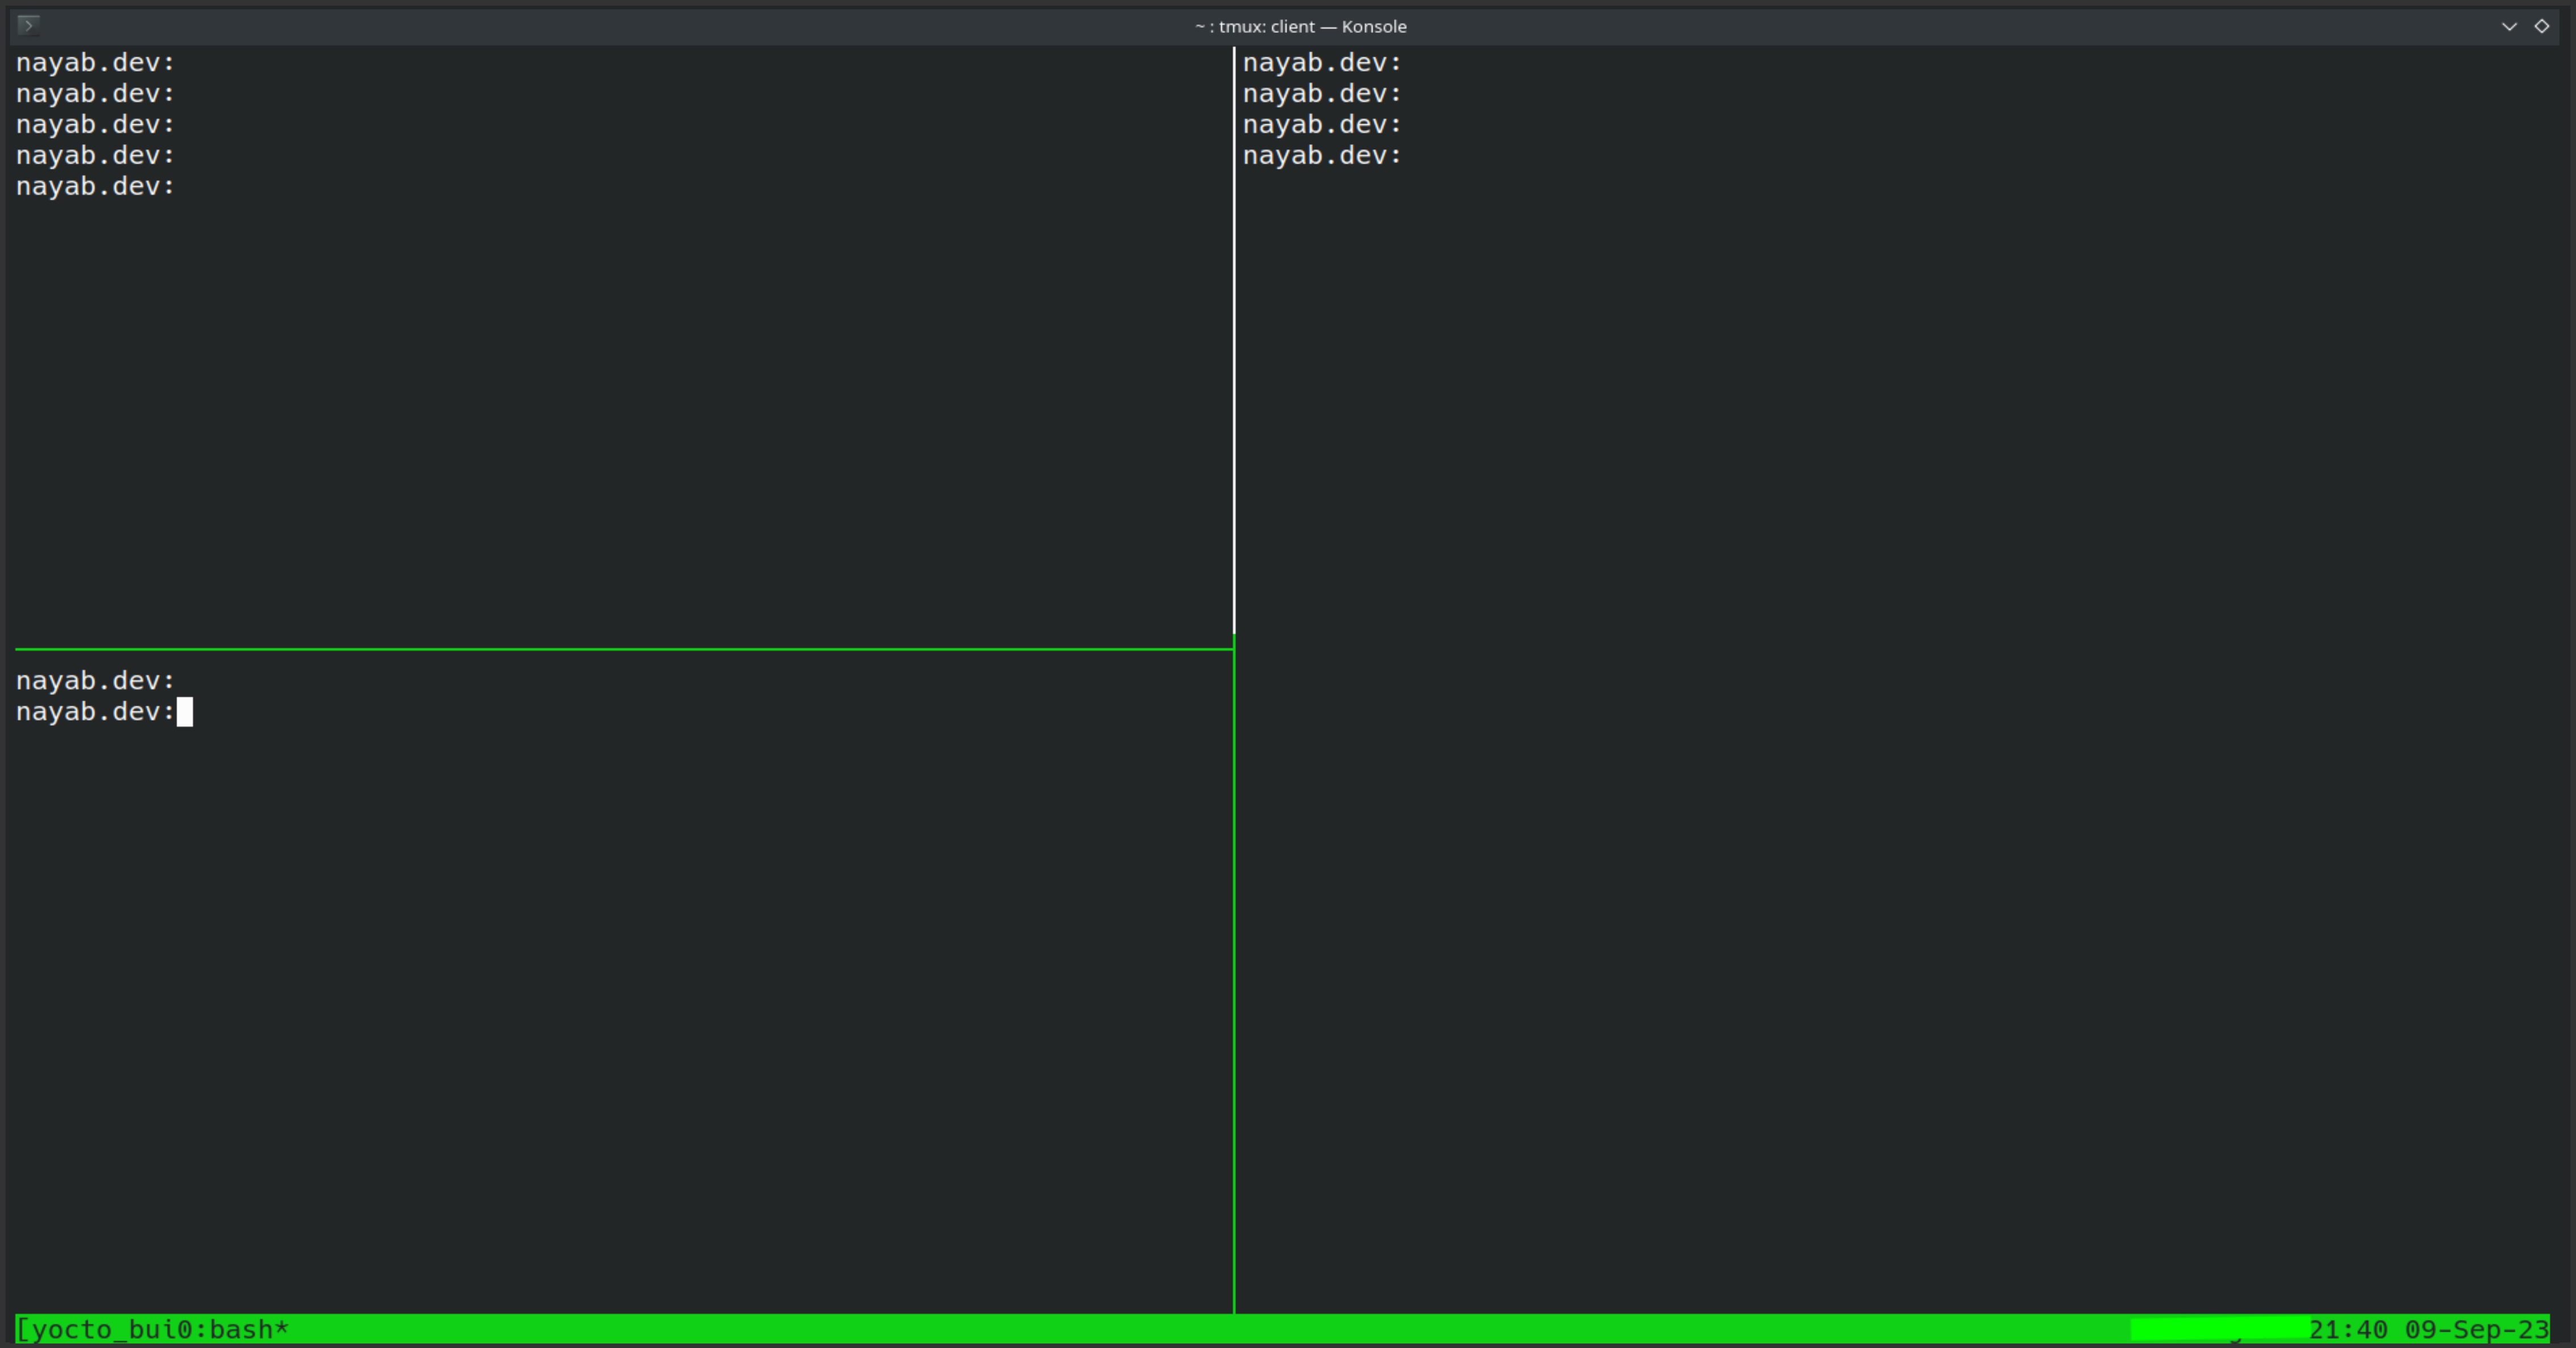
Managing Remote Terminal Sessions with Tmux
I primarily work on my remote system, using it as my build system to compile images for my target development boards. I prefer to keep alive my remote session for several reasons:
- The build process can take hours to complete, and if my internet connection is interrupted, the shell session may be disrupted, potentially causing the build to fail.
- I would like to power off my local systems and return later to monitor the compilation progress.
- I intend to resume my work right where I left off.
Fortunately, there exists a Linux tool called tmux, which can accomplish much more than the requirements I initially had in mind.
Tmux serves as a terminal multiplexer, enabling you to create and manage multiple shell sessions within a single local system terminal or within a single remote SSH connection. Especially during an SSH session, you don’t need to start another SSH connection to have two terminals open side by side on the remote server.
Let’s explore how to utilize tmux for the management of terminal sessions.
Starting a new session
Launch the terminal on your local system or log in to your remote server via SSH. To create a tmux session, employ the following command:
1
tmux new -s <sessionName>
An example of this:
1
tmux new -s buildroot_build
Detaching a tmux session
Pressing Ctrl+d will terminate a tmux session. To detach from the current session while keeping it running, use the following key sequence: Ctrl+b followed by d
List the tmux sessions
The command tmux ls displays all the tmux sessions currently running on the system.
1
2
3
$ tmux ls
buildroot_build: 1 windows (created Sat Sep  9 21:29:31 2023)
yocto_build: 1 windows (created Sat Sep  9 21:29:59 2023)
buildroot_build and yocto_build are two tmux sessions alive.
Attaching to a tmux session
From the output of the tmux ls command, you can identify all the tmux session names. To attach to a specific tmux session and resume your work from where you left off, use the following command:
1
tmux a -t <sessionName>
Let’s say one of tmux session name is yocto_build then to attach to that terminal session, use the command:
1
tmux a -t yocto_build
Splitting the Terminal pane
This is the best part of working with tmux. If you prefer not to disrupt your current terminal session and need another terminal session on your remote system, you can achieve this without initiating a new SSH session.
To split the terminal pane vertically, press the shortcut Ctrl+b followed by % ( Shift+5)
To split the terminal pane horizontally, press the shortcut Ctrl+b followed by " (Shift+').
Switching between the panes
Employ Ctrl+b in conjunction with the arrow keys to navigate between panes.
- To move the cursor to the right pane, use
Ctrl+bfollowed by → (Right Arrow). - To move the cursor to the left pane, use
Ctrl+bfollowed by ← (Left Arrow). - To move the cursor to the top pane, use
Ctrl+bfollowed by ↑ (Up Arrow) - To move the cursor to the bottom pane, use
Ctrl+bfollowed by ↓ (Down Arrow)
Resizing the panes
Hold Ctrl+b, don’t release it and hold one of the arrow keys.
Creating new window
Use the shortcut Ctrl+b followed by c.
Switching between windows
Use the shortcut Ctrl+b followed by n to move to next window. And use Ctrl+b followed by p to move to previous window.
Scrolling in tmux
By default, in tmux, mouse scrolling or Page Up/Down keys do not work. To enable scrolling, press Ctrl+b, followed by [. Now you can use the vim editor navigation keys (j, k, l, h, g etc.) or simple arrow keys and PageUp/Down keys to navigate around terminal text.
While in scrolling mode, you can’t use any other keys
Quit scrolling
Press q to quit scrolling.
I hope this tutorial is helpful. For more information, you can refer to the man page by using the command man tmux.

